Smart Hydroponic Systems for Home Gardens
Discover how smart hydroponic systems are revolutionizing home gardening by bringing cutting-edge technology and sustainable practices directly to your living space. These advanced systems enable anyone to grow fresh produce year-round, regardless of climate, space, or prior gardening experience. From app-controlled watering and lighting to automated nutrient delivery, smart hydroponics make gardening both efficient and highly rewarding. Explore the fundamentals, features, benefits, and innovations shaping the future of home-based plant cultivation with hydroponic tech.

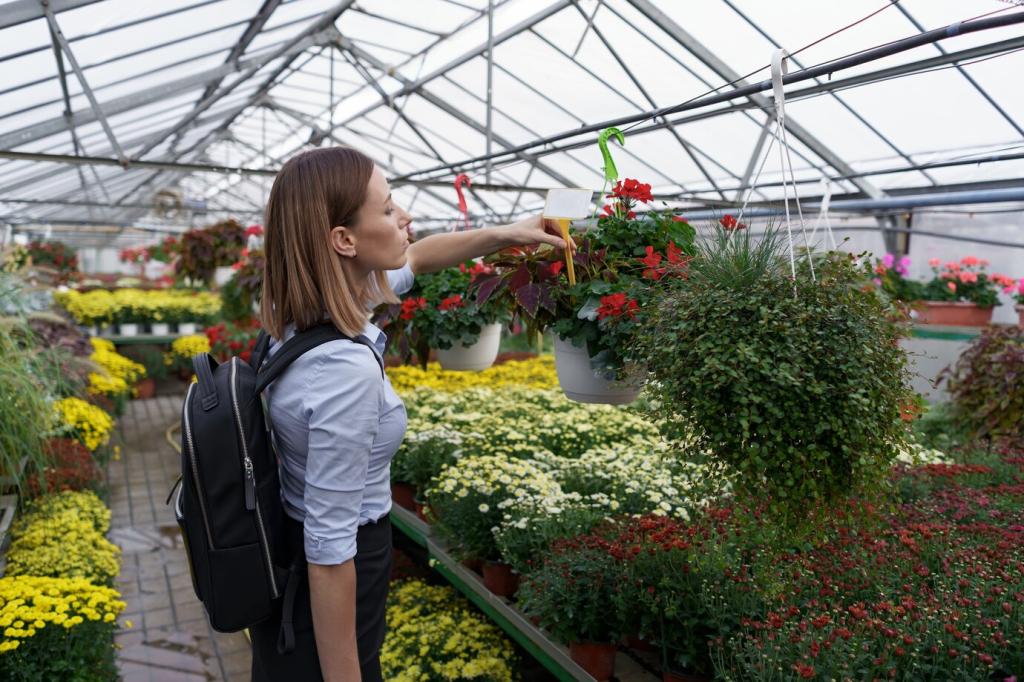
Understanding Smart Hydroponics
Evolution of Hydroponic Gardening
Hydroponics has been used for centuries, but recent advances in technology have ushered in a new era of precision gardening. Early hydroponic gardens relied heavily on manual monitoring and adjustments, demanding substantial time and expertise. However, the advent of connected devices, intelligent sensors, and automated controllers has dramatically transformed the process. Today’s smart hydroponic systems simplify complexities, making sustainable gardening accessible to everyone. Automated adjustments for pH, nutrients, and lighting ensure optimal plant health, yielding impressive results with significantly less input from users. This technological evolution has democratized gardening, allowing even novices to participate in the joys of cultivating fresh produce at home.
Key Components of Smart Systems
A smart hydroponic system consists of several integrated parts working seamlessly together. Central to its function are sensors that monitor environmental parameters such as humidity, temperature, light intensity, and water chemistry. These data points feed into a digital controller that manages the system in real time, activating pumps, lights, and nutrient dosing as needed. Wireless connectivity often allows users to oversee and adjust their garden from anywhere using mobile applications or voice assistants. Robust automation ensures reliable, consistent care for plants, while cloud-based analytics can provide actionable insights for further optimization. The synergy among these components is what sets smart hydroponics apart from more traditional forms of cultivation.
Smart Hydroponics Versus Traditional Gardening
Traditional soil-based gardening is subject to the vagaries of weather, pests, and inconsistent watering or fertilization routines. By contrast, smart hydroponic systems offer precise control over all growing conditions, virtually eliminating external risk factors. The use of automation and real-time feedback not only ensures plants receive exactly what they need but also significantly reduces the potential for human error. This level of control is especially beneficial for individuals with limited gardening experience or those living in urban environments where outdoor space is scarce. The result is healthier, more productive plants and a gardening experience that is streamlined and enjoyable.
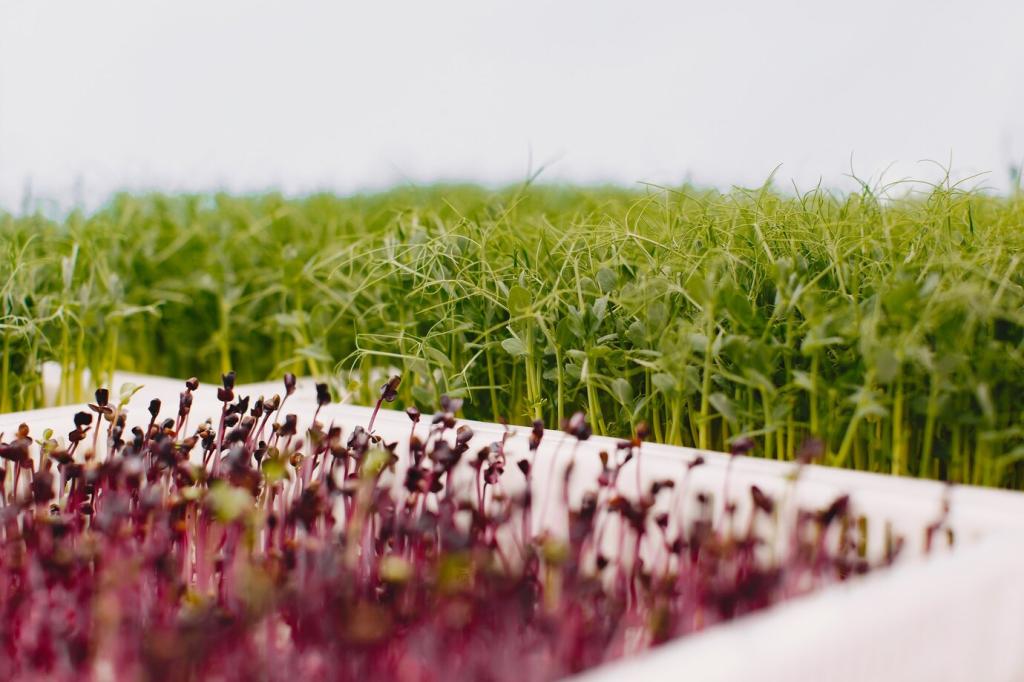
Benefits of Smart Hydroponic Systems
Year-Round Fresh Produce
Smart hydroponic systems create a controlled environment tailored to the needs of your plants, making it possible to grow fruits, vegetables, and herbs regardless of the season. Unlike outdoor gardens that are season-dependent and at the mercy of climate changes, these systems maintain stable temperatures, humidity, and lighting levels year-round. Users can harvest fresh produce whenever needed, resulting in a constant supply of nutritious, homegrown food. This consistency is particularly beneficial for those living in climates with harsh winters or limited growing seasons, as it eliminates dependency on external sources and ensures food security within the household.
Water and Nutrient Efficiency
Smart hydroponics significantly reduce water consumption compared to traditional soil gardening, making them an eco-friendly choice for environmentally conscious consumers. Through recirculation and targeted nutrient delivery, these systems minimize waste and ensure that plants absorb exactly what they need. Sensors monitor the roots’ health, adjusting the supply in real time for optimal growth. This precision not only conserves water but also prevents over-fertilization, which can harm both plants and the environment. As a result, home gardeners can enjoy lush, productive gardens while contributing to the sustainable use of natural resources.
Effortless Automation and Monitoring
One of the standout advantages of smart hydroponic systems is their automation capabilities. Routine tasks such as watering, feeding, and lighting are managed automatically, taking the guesswork out of gardening. Integrated mobile apps and alerts provide real-time insights into plant health and system performance, empowering users to make informed decisions or simply monitor progress from afar. For busy individuals, this hands-off approach means less time spent on maintenance and more time enjoying the fruits of their labor. Effortless automation democratizes gardening, making it accessible to those with limited experience or demanding schedules.
How Smart Hydroponic Systems Work
Environmental Control Technology
The cornerstone of a smart hydroponic system is its ability to create and maintain a precise environment for optimal plant growth. State-of-the-art sensors constantly measure ambient factors such as temperature, humidity, and light, delivering real-time data to the system’s controller. Based on this information, the system can automatically adjust lighting schedules, activate fans or heating elements, and even trigger shading when needed. These environmental adjustments ensure plants remain stress-free and thrive in conditions tailored exactly to their requirements. The continuous monitoring and adaptation not only boost plant health but also maximize growth rates and crop yields for the homeowner.
Automated Nutrient Delivery
Hydroponic plants depend entirely on waterborne nutrients, making delivery accuracy critical. Smart hydroponic systems employ dosing pumps and nutrient reservoirs linked to moisture and EC (electrical conductivity) sensors. These sensors assess the solution’s exact composition and concentration, automatically adjusting ratios to meet each plant’s developmental needs. Users do not have to worry about mixing formulas or overfeeding, as the system ensures a perfect nutrient balance at every stage. Such automation leads to robust root systems, faster growth, and more bountiful harvests, all with minimal intervention.
Integrated App and Voice Controls
The integration of mobile apps and voice controls is a distinctive feature of smart hydroponic systems, bringing unprecedented convenience to home gardeners. These digital tools enable remote management of environmental settings, nutrients, and lighting cycles, through intuitive user interfaces. Push notifications alert users to important changes or maintenance needs, while voice assistants like Alexa or Google Home make executing commands entirely hands-free. The combination of app-based and voice controls makes managing a flourishing garden possible from anywhere, adding a layer of ease that enhances the overall gardening experience.
Choosing the Right System for Your Home
Before selecting a system, evaluate the size and layout of the space where it will be installed. Some smart hydroponic setups are compact and designed for tabletops or kitchen counters, while others require more room and are intended for vertical wall installation or dedicated grow rooms. Assess not only the physical space but also the amount of sunlight, air circulation, and accessibility. Compact units are ideal for small apartments, while larger modules can accommodate families or those wishing to maximize production. A well-matched system ensures both aesthetic harmony and efficient growth, harmonizing indoor gardening with your living environment.
Setting Up Your Smart Hydroponic Garden
Assembling and installing your smart hydroponic system typically starts with unboxing and sorting the various components, which may include growing trays, water pumps, reservoir tanks, lights, and control units. Following manufacturer instructions closely is crucial, as proper assembly ensures safety and functionality. Placement matters: locate your garden in an area with accessible electrical outlets and appropriate ventilation. Secure fittings prevent leaks and support plant health throughout the growing process. A well-executed installation builds a strong foundation for every future harvest, minimizing the risk of technical issues and maximizing system longevity.
Calibrating your sensors and control systems is essential for creating the optimal conditions necessary for plant growth. Begin by filling the reservoir with clean water and introducing the recommended nutrient solution, then use the system interface to calibrate settings such as pH levels, temperature, and light intensity. Initial testing ensures all parts are operational, with pumps running smoothly and sensors accurately reflecting environmental parameters. Any deviations or malfunctions can be addressed before introducing plants. This meticulous approach gives gardeners confidence that their system will provide consistent, automated care right from day one.
Once mechanical and environmental preparations are complete, the next step is connecting your system to its digital controls. This may involve syncing with a mobile app, setting up Wi-Fi connectivity, or pairing with smart home devices. Update the firmware if needed and complete any required registration to enable full remote monitoring and alerts. Customize schedules for watering, lighting, and feeding to reflect the needs of your chosen crops. The integration of digital controls transforms ordinary setups into smart gardens, empowering you to manage your entire indoor ecosystem effortlessly and efficiently.
Maintenance and Troubleshooting
Cleaning and Component Care
Regular cleaning of reservoirs, tubing, and plant trays prevents buildup of algae, mineral deposits, and other contaminants that could undermine your garden’s health. Many smart systems will prompt cleaning alerts based on usage and environmental data. Unplug and disassemble components before cleaning, using food-safe sanitizers and gentle scrubbing tools to avoid damage. Inspecting moving parts, such as pumps and fans, ensures smooth operation and extends system viability. Diligent maintenance upholds high hygiene standards, which is especially crucial when producing food crops in close proximity to living spaces.
Monitoring System Alerts and Notifications
Smart hydroponic systems are equipped with sophisticated sensors and software designed to notify you of irregularities. Alerts may indicate low water levels, pump malfunctions, nutrient imbalances, or sensor calibration needs. Real-time alerts sent via app or email empower you to act promptly, preventing small issues from escalating. Take time to understand the meanings behind different alerts and familiarize yourself with recommended responses for each scenario. Proactive monitoring and swift action are vital for maintaining robust plant growth and avoiding interruptions in garden productivity.
Troubleshooting Common Issues
Even with smart automation, occasional hiccups such as nutrient blockages, pump failures, or sensor errors can occur. Having a grasp of common troubleshooting procedures minimizes downtime and stress. Restarting control units, checking power connections, or consulting in-app diagnostics can resolve many minor faults. In some cases, reaching out to manufacturer support or community forums might be necessary for more complex concerns. Staying calm and methodical when challenges arise ensures a swift return to optimal operation, reinforcing your confidence in home-based smart hydroponic gardening.
As your confidence and curiosity grow, you may wish to expand your hydroponic garden to accommodate a greater variety or volume of plants. Many smart systems support add-on modules, allowing for horizontal or vertical growth without redesigning your entire setup. Consider your available space, time commitment, and increased resource consumption when planning expansion. Each added section should maintain easy accessibility for maintenance and harvesting. Scaling up gradually enables you to refine techniques, avoid overwhelming yourself, and maximize the enjoyment derived from your home garden.